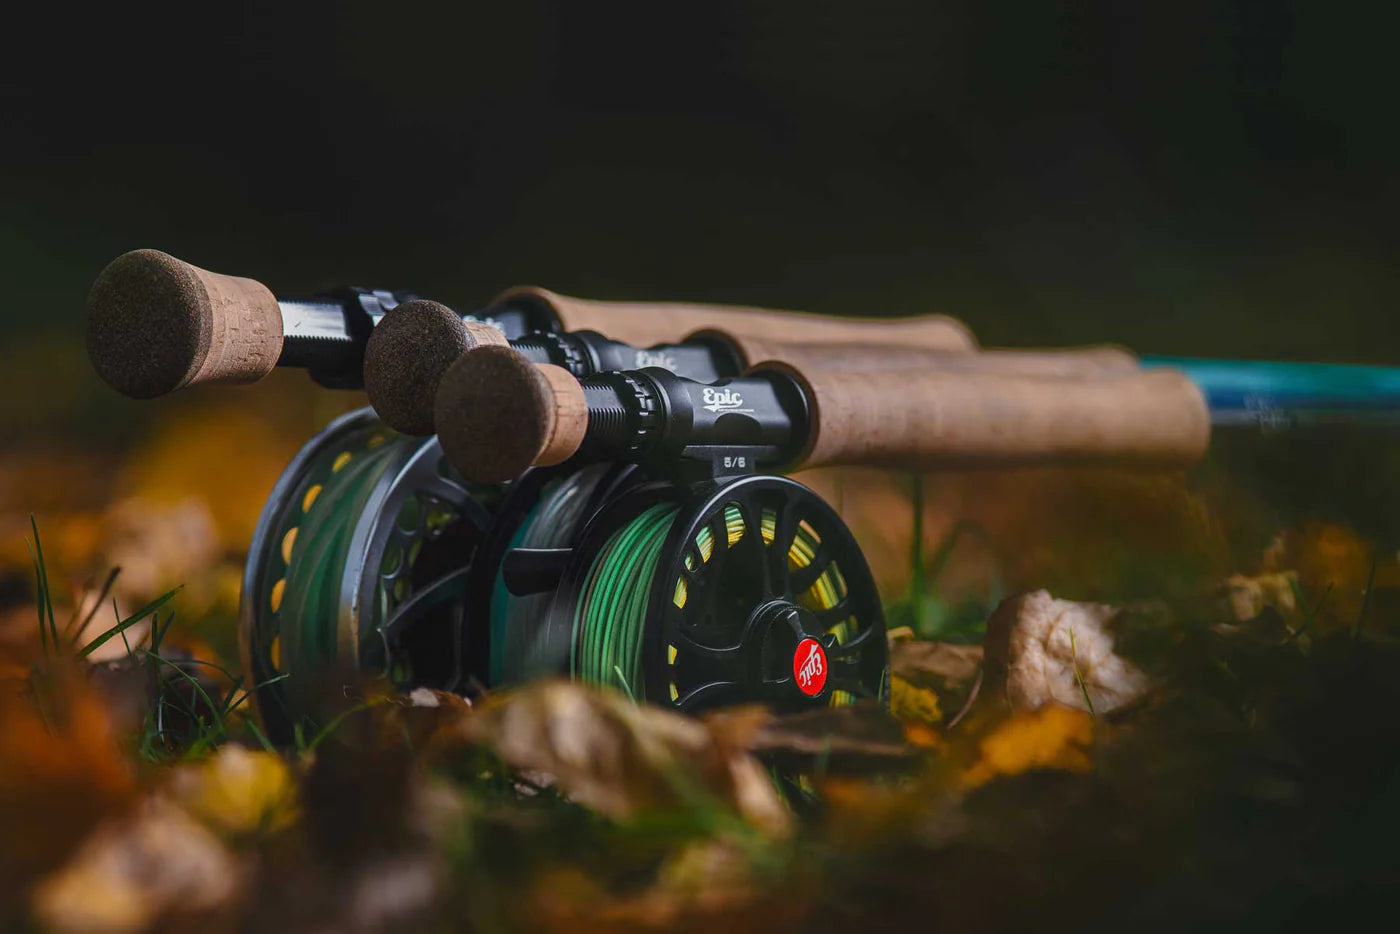
You can feel a self-built fly rod even before you get to the water. The alignment of the guides, the transition from the cork to the reel seat, and the first pull on the winding thread already show whether the components were conceived as a system. Therefore, anyone who asks "how do I build a fly rod" doesn't just put parts together. They coordinate the action, line class, intended use, and feel.
For the first rod, a suitable kit is often the most sensible entry point: the blank, grip, reel seat, and guides are fundamentally compatible, while the craftsmanship steps are still fully learned. If you already know whether a #3 for a small stream, a #5 as a universal trout rod, or a powerful #7 for the coast and pike is to be built, you can selectively choose individual components.
How to build a fly rod? Planning before the first winding
The blank sets the direction. Length, line class, and action determine not only the later casting performance but also the type of guides, the dimension of the fighting butt, and the choice of reel seat. A fast 9-foot blank in #6 for the coast requires different components than a lightweight fiberglass blank for short presentations on a small stream.
Pay particular attention to the guide spacing specified by the blank manufacturer. It is a reliable starting point, not necessarily the final word. For very fast blanks, special nymph rods, or particularly fine line classes, a static load test can show whether the line follows the blank cleanly under bending. The goal is an even load distribution without large, unsupported areas.
Before purchasing, determine what the rod needs to be able to do. For a classic all-around trout rod, a 9-foot blank in class #5, a lightweight downlocking or uplocking reel seat, and snake guides are a proven combination. For ESN and Euro Nymphing, sensitivity, low weight, and a tuned tip section are paramount. Saltwater and pike setups require corrosion-resistant guides, durable reel seat hardware, and a significantly more powerful grip concept.
Selecting components by function
The grip is not solely about aesthetics. High-quality Flor-cork is light, comfortable, and classic, but needs to be precisely fitted during processing. Cork composite is more forgiving of stress in exposed areas. Carbon grips offer a direct, modern feel and are particularly suitable for technical nymph or saltwater setups. Which solution is better depends on the intended use, weight target, and personal hand position.
The reel seat must match the diameter of the blank butt and the later reel foot. Check the bore before gluing. If it needs to be significantly widened, unnecessary play or the risk of damaging the material arises. For light stream rods, every gram counts; for a #8 for the coast, saltwater-resistant hardware is more important than minimal weight savings.
Precision is worthwhile when it comes to guides. Snake guides are light, classic, and the right choice for many single-handed rods. Single-foot guides can improve line flow and durability, but add weight depending on the design. Agate guides provide a special accent on the stripping guide but are not a universal performance upgrade. They can fit excellently on a light bamboo or fiberglass rod, but on a uncompromisingly light nymph rod, their extra weight often goes against the concept.
Preparing the blank and assembling components
Set up your workspace before opening glue or varnish. You will need at least a clean surface for the blank, sandpaper, files or reamers for the grip, a marking pen, tape, winding thread, epoxy glue, two-component rod finish, mixing cups, and a way to slowly rotate the blank during finish drying. A rod wrapper significantly simplifies the work but does not replace manual control.
First, the blank's recovery side, often referred to as the spine, is checked. To do this, the blank section is gently bent and rotated until it springs into a preferred position. In modern, multi-piece carbon blanks, this effect is not always strongly pronounced. Nevertheless, this check helps to consciously align the guides instead of placing them randomly. For most single-handed fly rods, the guides are positioned on the inside of the natural bend. The key is to work consistently across all sections.
Then, dry-fit the grip and reel seat. The grip should slide onto the blank to the intended position without force and not wobble there. Gradually ream out the cork's interior. Too much material cannot be put back. For the reel seat, tape arbors can bridge the difference between the inner diameter and the blank diameter. The arbors should sit evenly so that the glue reliably fills any gaps.
Mix the epoxy glue exactly according to the manufacturer's instructions and stir slowly to create as few air bubbles as possible. Sufficiently wet the blank, arbors, and the inside of the reel seat. Slide the parts on with a rotating motion, align the hardware with the later guide axis, and immediately remove excess glue. The grip follows either before or after the reel seat, depending on the construction. A winding check forms a clean transition at the top end of the grip and conceals small tolerances.
Positioning, wrapping, and varnishing guides
Transfer the guide table to the blank with a fine pen or small strips of tape. Mount the guides provisionally first. For multi-piece rods, the ferrules must be correctly aligned, otherwise the guide axis and stress test will not be accurate. The stripping guide sits on the butt section, followed by the snake guides up to the tip at the recommended intervals.
Now comes the work that visibly distinguishes a custom rod from a hasty build: the winding. Secure the guide foot and wind the thread tightly next to each other with even tension. No gaps, no overlapping turns, no trapped fibers. Long guide feet can be carefully sanded beforehand so that the thread winds cleanly. Never sand into the guide material itself.
To finish, a pull-through loop is placed under the last turns. The end of the thread goes through the loop and is pulled back under the winding. Only then cut flush. Check each winding in side light. Small flaws visible before the varnish will not become invisible with varnish – they usually become more pronounced.
Before varnishing, all guides should be perfectly in line. A simple visual check along the blank is a good first step. Better still is an additional static load test: thread the line through, moderately bend the blank, and observe whether the line runs evenly. Especially in the tip section, a few millimeters of guide misalignment can alter the load distribution.
The varnish is applied in thin, controlled layers. Too thick an application may seem convenient at first but can cause runs, waves, and unnecessary weight. Mix small quantities precisely, apply the varnish with a suitable brush, and continuously rotate the blank during curing or use a drying motor. Depending on the system, a second thin layer follows after complete drying. Heat only helps to a limited extent in removing fine bubbles – too much heat damages the finish.
Common mistakes in the first build
Most problems don't arise from a lack of special tools, but from impatience. Grips widened too quickly, misaligned reel seats, uneven thread tension, and too much varnish can be avoided if each construction phase is prepared dry. The curing time is also not a suggestion: anyone who assembles or stresses a rod too early risks pressure marks in the varnish and shifted components.
Another mistake is the pursuit of maximum lightness without considering the intended use. An ultralight guide setup feels great on a #3 but is not automatically the best solution for a windy coastal rod. Conversely, oversized hardware makes a fine dry fly rod tip-heavy. Good components are not simply expensive or light - they match each other.
Testing the finished rod on the water
After full curing, check the ferrules, guide alignment, and reel seat again. Mount the reel and a suitable fly line, not just any line from your bag. Only when casting will you see if the balance, grip diameter, and line class are harmonious. A #5 can feel completely different with a short-taper, heavy line than with a long, delicately presenting taper.
Don't just take the rod to the lawn for ten casts, but to the water it's intended for. On a small stream, roll casting, line control, and short, precise casts count. On the coast, wind, heavy flies, and long casts show whether the grip, guides, and balance truly fit. After the first uses, note what you would change for the next build – a different stripping guide, a shorter grip contour, or a different thread color can become very conscious decisions based on experience.
A self-built fly rod doesn't have to be perfect on the first try. It should be well-made, suitable for its intended use, and meet your own demands on the water. That's where a blank and individual components become a piece of equipment with its own signature.